Installation Video
Step One

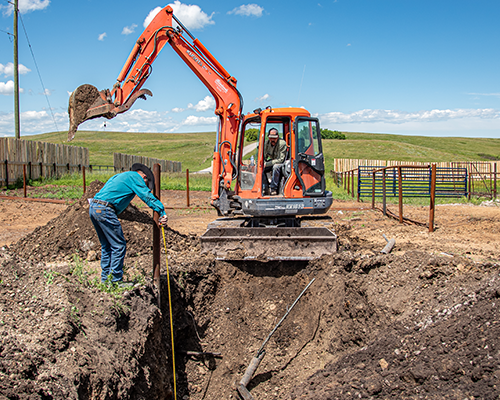
Complete the digging of your trench at 6’8” deep. During installation, ensure the stability
of the trench walls as necessary.
See http://work.alberta.ca/documents/WHS-LEG_ohsc_p32.pdf
for guidance.
Your STOCKBOSS will then sit 20” above the ground level, measuring from the top of the
drinking bowl.
This is the recommended height for cattle and horses.
NOTE! For smaller livestock such as sheep, the STOCKBOSS can be installed deeper
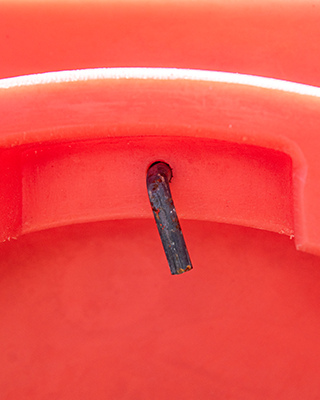
IMPORTANT NOTE! Open & close the “shut off valve” before and after installation of brass fitting (prior to burying in the ground)
Step Two
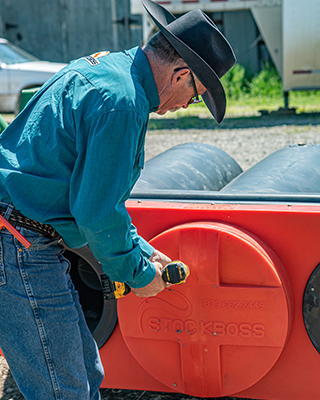
Remove StockBoss float tube lid by removing shipping screws
Important Note: Open & close the “shut off valve” before and after installation of brass fitting (prior to burying in the ground)
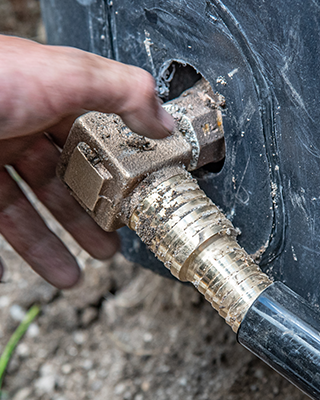
Step Three
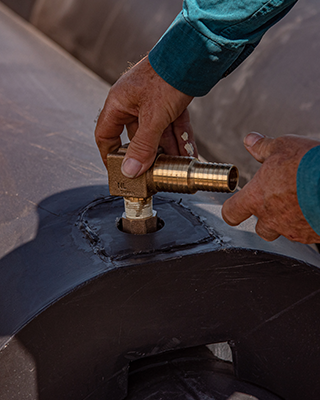
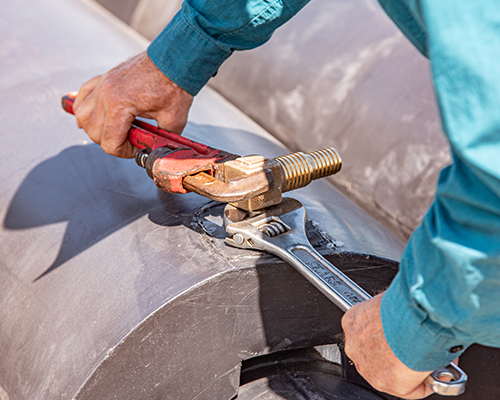
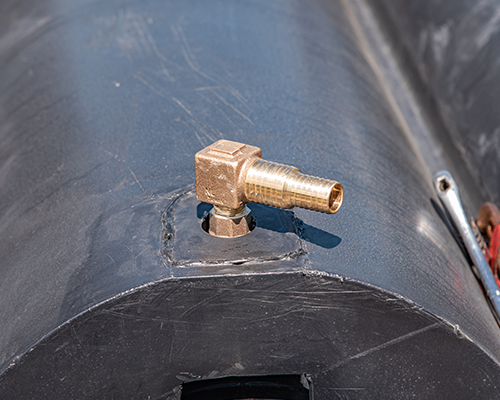
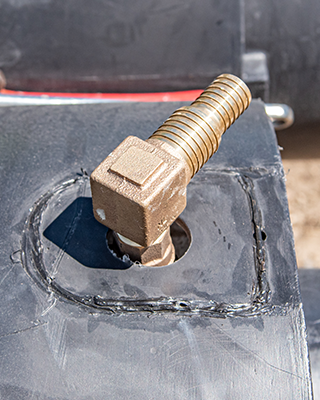
Screw in the BRASS
ELBOW at bottom of the waterer, at a downward facing 45 degree angle.
To prevent internal plumbing components from turning during tightening of the elbow, secure
the fitting on the waterer with a wrench while tightening.
NOTE! You can tape the fitting shut to prevent soil and debris from collecting inside the elbow
CAUTION: Ensure the fitting on the waterer does NOT turn
Step Four
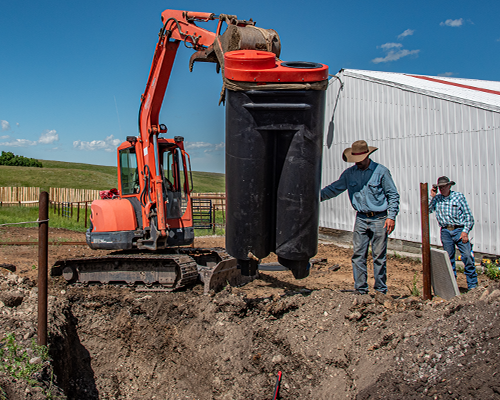
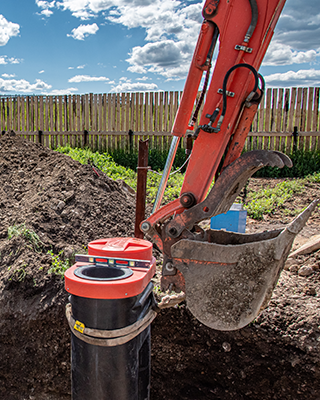
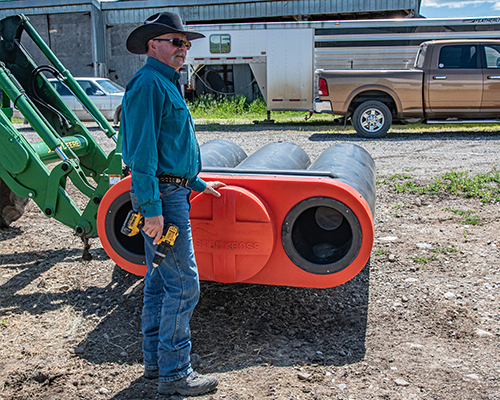
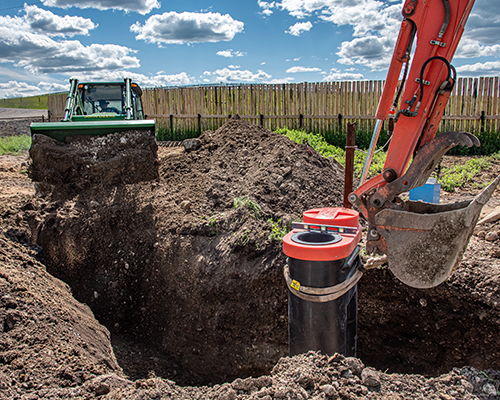
Secure a suitable rope or cable around top of the StockBoss, then lower down into the trench on a level bed.
NOTE! the STOCKBOSS weighs approximately 400 lbs. (180 kg)
Step Five
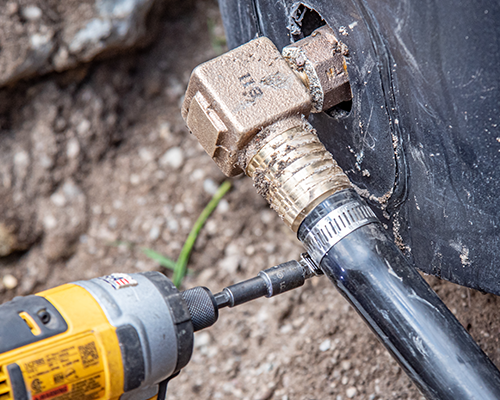
Once the STOCKBOSS is firmly placed on the bed of the trench, attach your black poly pipe supply line to the BRASS ELBOW. Use a hose clamp (not supplied) to fasten securely.
NOTE! If using high density hose or larger diameter hose a short flexible hose may be required
Step Six
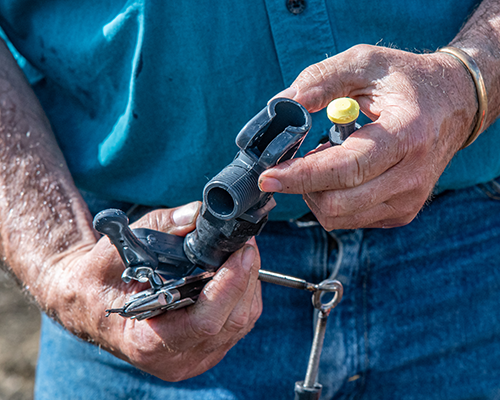
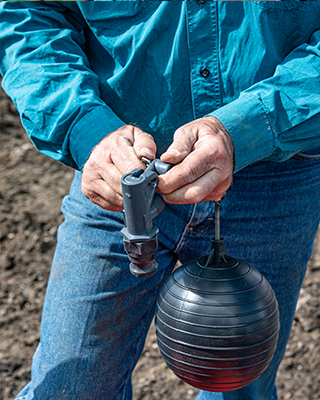
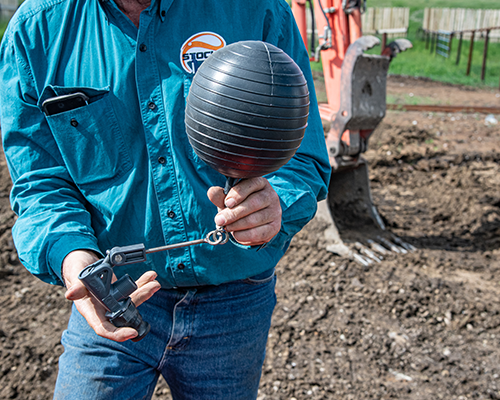
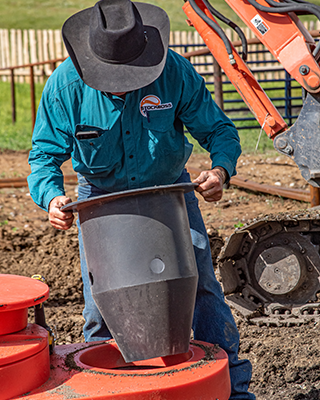
Install Float Assembly in the float column, install the standpipe, put a small amount of grease or Vaseline on the “0” ring on the pitless, then slide pitless into place & attach float assembly. If the standpipe has already been installed (by the mfg.), apply gentle downward pressure to the standpipe to ensure it is securely seated in the pitless
NOTE! Checking for alignment – if your standpipe is NOT pointing vertical – then turn fitting at bottom of waterer with your wrench until it is vertical.
NOTE! ensure the float valve assembly is centered
Step Seven

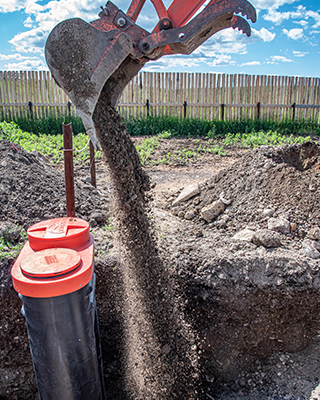
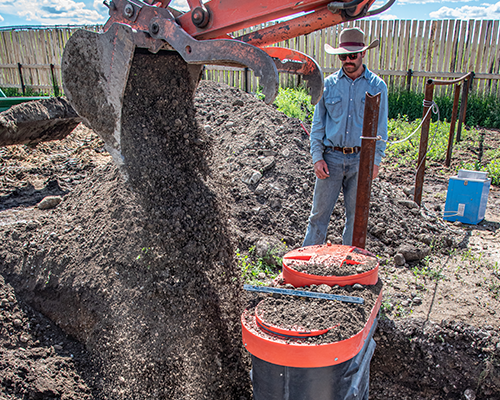
With the water supply line securely attached and the standpipe in vertical position – proceed to level and back fill. Use SAND as fill for the initial 3 feet and then fill the trench with the initial dirt that had been removed.
NOTE! Continually ensure the waterer is level during backfilling
NOTE! Sand is ideal as it sifts and packs firmly around the bottom of the unit. It is also preferred as large chunks of soil & debris could cause collapse of the hoses
Step Eight

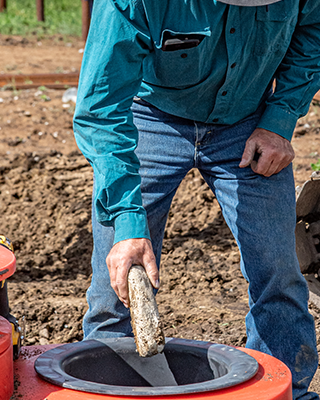
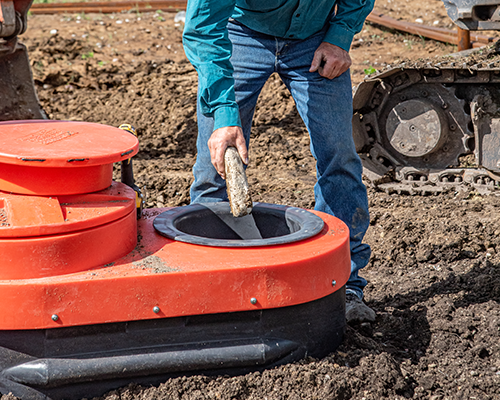
Remove the shipping screws from the DRINKING BASKETS and place hold-down weights into baskets to prevent them floating up. Rocks are recommended and work great.
Step Nine
Step Ten
Set the float to the desired water level.
Tips
WHEN NOT IN USE: TURN THE WATERER TO "OFF" POSITION.
To install/remove the tight fitting lid: use a rubber hammer and tap in the desired direction
NOTE! the lid TURNS ON